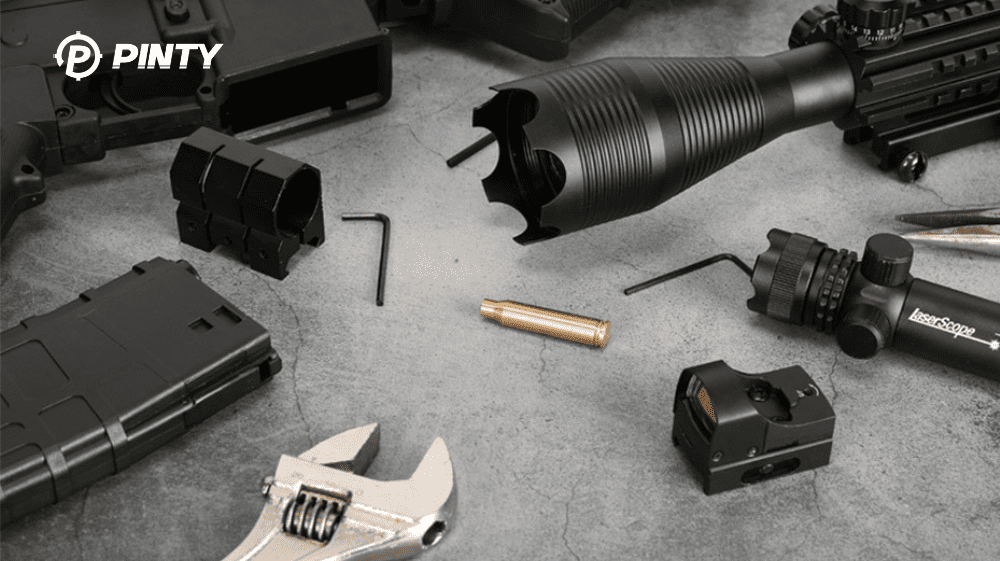


Red dot sights project illuminated reticle aim points onto a lens to enhance speed and target acquisition compared to traditional iron sights. But not all red dots are created equal. The Minute of Angle (MOA) measurement correlates to dot size, affecting precision. We will compare 3 MOA and 6 MOA options, deciding when tighter or looser aim dots excel based on shooting distance, target size, vision, and usage.
(Reading Time: 3-5 Minutes)
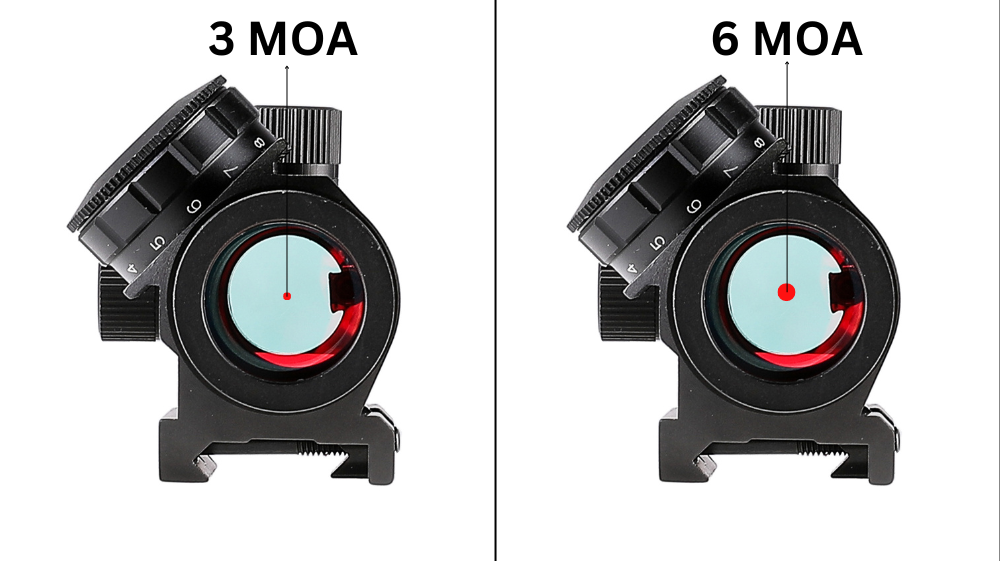
Understanding MOA
MOA equates to roughly 1 inch per 100 yards of distance. Red dot MOA sizes use this principle, with a 3 MOA dot spanning ~3 inches at 100 yards. Similarly, 6 MOA covers ~6 inches at that distance. So MOA aims to quantify dot size and resulting precision.
Smaller MOA dots allow more pinpoint aiming while larger MOA dots are quicker to acquire but cover more target area. Matching dot size to your specific shooting needs and style is key. First let's compare 3 MOA and 6 MOA attributes.
Benefits of 3 MOA Dots
The tighter 3 MOA dot provides the most accuracy and ability to discriminate targets, ideal for precision shooting. At 100 yards, the dot spans just ~3 inches, allowing very exact hold placement.
For shooting small bullseye targets or engaging longer ranges, the 3 MOA dot's ability to pinpoint tiny aim points makes it easier to register hits more consistently, especially when magnified optics narrow field of view. If going as tight as possible on target matters most, choose 3 MOA.
Advantages of 6 MOA Dots
In contrast, the larger 6 MOA dot offers faster target acquisition, especially up close. Covering ~6 inches at 100 yards, the somewhat larger dot is quicker to visually locate when bringing sights onto target.
The 6 MOA aim point also offers a bit more forgiveness during alignments, creating a balance between speed and usable accuracy. For closer 25-100 yard shots, the 6 MOA dot can prove very effective when reaction time counts most.
Shooting Distance Considerations

3 MOA dots truly excel at distances under 100 yards where maximum precision on small targets is needed. As distance extends beyond 100 yards, the 6 MOA aim point balances sufficient precision with quicker acquisition.
Trying to utilize a 3 MOA dot much beyond 150 yards on smaller targets requires magnified optics and very steady holds. Meanwhile, 6 MOA dots stretch usably out to 200 yards or more when targeting torso-sized shot placement zones common in defensive handgun applications.
Target Size Factors
Naturally, choosing dot size depends on your typical target sizes. 3 MOA dots cater to punching tiny bullseyes or hitting small game like rabbits where high accuracy is compulsory. The tighter dot leaves little margin of aiming error.
For defensive drills on silhouette targets or fast lead shots on moving targets, the larger 6 MOA dot proves more forgiving. The dot simply covers more area, allowing solid torso hits without hyper-precise hold alignment. Match your target objectives to the dot dimensions.
Brightness and Vision Considerations
In very dark environments, larger dot sizes generally remain more visible even at dimmed settings. For those needing illuminated dots in low light, consider the wider 6 MOA aim point.
Conversely, shooters with aging vision may prefer smaller 3 MOA dots for crisper resolution on targets. Here brightness settings help balance dot intensity against halo effects in one's vision. Test various MOA sizes under the lighting conditions you expect to encounter.
Balancing Precision and Speed
As with most firearm accessories, choosing an optic involves balancing key traits. 3 MOA prioritizes the ultimate aiming accuracy for disciplined firing, while 6 MOA tilts towards target acquisition speed and adequate range.
If emphasizing careful shot placement, the 3 MOA dot forces more refinement. But if reactive shooting dominates your needs, the quicker 6 MOA acquisition has advantages. Weigh your needs and shooting style.
Trying Varying Dot Sizes
Ideally, test different MOA dot sizes first-hand at a shooting range to discern which feels more natural to your eyes and shooting form. While 3 MOA and 6 MOA are common, sizes like 4.5 MOA offer intermediary accuracy if you find those extremes either too tight or too large when firing live shots.
Testing confirms which dot dimension agrees with your visual processing and shooting technique. Let your groupings and target results guide you in finding the optimal balance. An adjustable dot maximizes flexibility.
Conclusion
While no universally ideal MOA size exists, scrutinizing your usage conditions and shooting objectives helps determine whether to favor a tighter 3 MOA dot for precision or the quicker but slightly looser 6 MOA size.